
The dreaded “retinol uglies” are not an initiation rite you have to suffer through. When I first experimented with retinoids years ago, I stripped my skin barrier down to raw, red, flaking patches within two weeks. I treated vitamin A like an everyday hydrator instead of the potent cellular regulator that it is. Through extensive trial, clinical literature, and tracking my skin’s barrier recovery metrics, I discovered that irritation is entirely preventable.
Learning how to introduce retinol into routine without peeling comes down to controlling penetration speed, lipid replenishment, and cellular acclimation. If you respect the biological rhythm of the skin, you can achieve smooth texture and cellular renewal without a single day of visible flaking.
Why Retinization Triggers Flaking (and Why It Isn’t Inevitable)
Retinol does not technically exfoliate dead surface cells the way alpha-hydroxy acids do. Instead, as documented by the National Library of Medicine, retinol communicates directly with cellular receptors, speeding up basal keratinocyte proliferation from the bottom up.
When you apply retinol too frequently or on compromised tissue, basal cells rapidly push immature corneocytes to the skin surface. These immature cells lack the structural cohesion and natural moisturizing factor (NMF) required to hold water. The result is rapid transepidermal water loss (TEWL) and spontaneous desquamation—better known as peeling.
Cellular Turnover vs. Barrier Disruption
Healthy cell turnover should happen invisibly. When sheets of skin peel around your mouth and nose, you are not experiencing healthy cellular renewal; you are dealing with acute contact dermatitis. The goal of this protocol is to stimulate collagen synthesis while preserving intercellular lipid bilayers.
The Onboarding Formula: Concentration and Molecule Selection
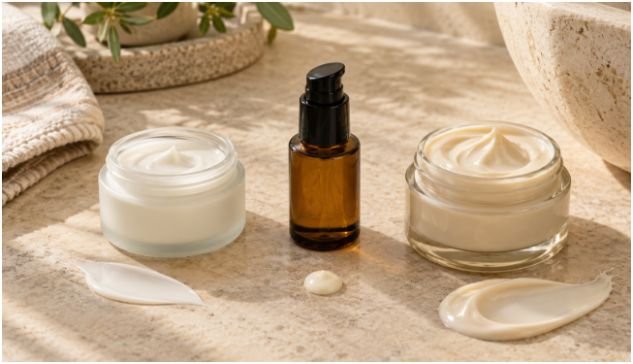
Most beginners ruin their barrier on day one by picking an aggressive 1% pure retinol formula. When I evaluate beginner routines, I insist on starting within the 0.025% to 0.1% range.
Pure Retinol (Free Acid) ──> Rapid Epidermal Flood ──> High Inflammation Risk
Encapsulated Retinol ──> Time-Released Diffusion ──> Sustained Tolerance
Why I Started with Encapsulated Formulas
Encapsulated delivery systems wrap the active molecule in a lipid or phospholipid shell. According to formulation research published in the Journal of Clinical and Aesthetic Dermatology, encapsulation slows down delivery, releasing minute doses across eight hours. This prevents the initial concentration spike that triggers inflammatory cytokines, keeping your skin calm and hydrated.
The Barrier Sandwich Protocol: Step-by-Step Application
Application mechanics matter just as much as formulation strength. I rely strictly on the “retinol sandwich” method to buffer penetration speed without blunting downstream efficacy.
Step 1: Cleansing and the Mandatory Ten-Minute Wait
Wash your face with a non-foaming, sulfate-free cleanser and pat dry. Then step away from the mirror for ten full minutes.
Applying vitamin A to damp skin accelerates capillary and intercellular delivery because wet skin is significantly more permeable. That extra permeability is exactly what causes chemical stinging and flaking. Ensure your skin is bone-dry before touching any active product.
Step 2: The Base Hydration Layer
Apply a lightweight, water-based hydrator or thin gel cream. If you are targeting early fine lines, this is a prime opportunity to incorporate peptides for mature skin elasticity, as copper and signal peptides build structural resilience without triggering peeling.
Allow this base layer to sink in completely. While you should normally use hyaluronic acid serum on damp skin to pull moisture into the epidermis, make sure that initial moisture has fully dried down before moving to step three.
Step 3: Precise Retinol Placement and Safety Zones
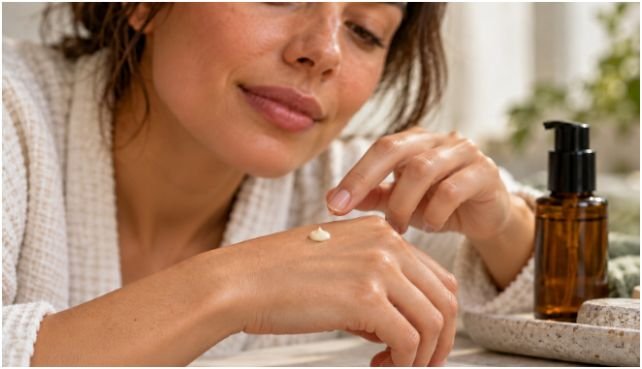
Dispense a strict pea-sized amount onto the back of your hand. Distribute tiny dots across your forehead, cheeks, and chin.
Avoid applying product directly to high-friction vulnerability zones:
- The lateral creases of the nostrils
- The delicate vermilion border and corners of the lips
- The orbital bone directly under the lower lash line
These areas collect pooling product and will crack easily if exposed to concentrated actives.
Step 4: The Ceramide Seal
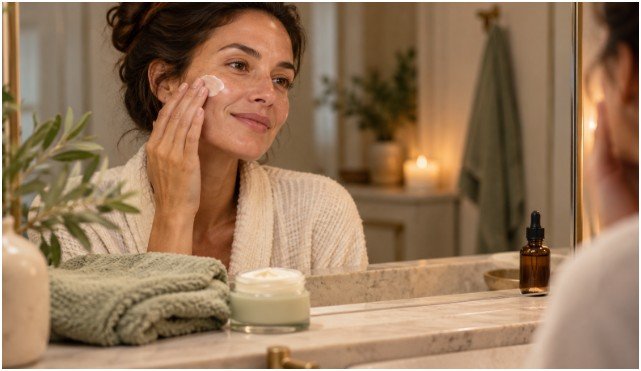
Finish your evening routine with a ceramide-dominant barrier cream. Look for formulas containing physiological lipid ratios: ceramides, cholesterol, and free fatty acids. This occlusive layer seals the buffer, suppresses nighttime water loss, and reinforces cell cohesion while the retinoid works overnight.
My 6-Week Progression Schedule
The most common mistake is ramping up frequency too soon because the skin feels fine after night two. Retinoid dermatitis has a 48-to-72-hour lag phase. Follow this pacing schedule to stay ahead of irritation:
| Phase | Application Cadence | Evening Routine Focus |
| Weeks 1–2 | 2 nights per week (e.g., Monday & Thursday) | Buffer method on active nights; ceramide repair on recovery nights |
| Weeks 3–4 | Every other night | Evaluate skin texture; pause if any dry tightness appears |
| Weeks 5–6+ | 3–4 nights per week or nightly | Direct application beneath moisturizer once skin tolerance is set |
If you notice any stinging when applying basic moisturizer on recovery nights, drop back to your previous cadence immediately. That minor sting is your skin barrier’s early warning sign before visible peeling begins.
Daytime Shield: Safeguarding Newly Surfaced Cells

Nighttime repair counts for nothing if you expose vulnerable, renewing skin to ultraviolet degradation during the day. The American Academy of Dermatology emphasizes that daily broad-spectrum photoprotection is essential when using cellular turnover agents.
Keep your morning routine strictly defensive:
- Rinse or Cleanse: Use lukewarm water or a gentle cream cleanser. Skip harsh clarifying washes.
- Humectant Hydration: Rehydrate with a non-irritating glycerin or panthenol serum.
- Barrier Cream: A light, soothing moisturizer prevents daytime moisture loss under makeup or environmental stress.
- Broad-Spectrum SPF 30–50: Mineral sunscreens containing micronized zinc oxide are particularly soothing for retinoid beginners, as zinc possesses mild natural anti-inflammatory properties.
Frequently Asked Questions About Retinol Peeling
1. How long does retinol peeling typically last?
Mild adjustment flaking subsides within two to four weeks when properly buffered, whereas heavy peeling indicates a damaged barrier that requires stopping the active entirely.
2. Can I scrub off dry flakes with an exfoliant?
Never use physical scrubs or chemical acids on peeling skin, as manual abrasion tears fragile tissue and severely worsens inflammation.
3. Should I stop using retinol completely if my skin starts peeling?
Pause your retinol for five to seven days, focus entirely on barrier recovery creams, and reintroduce it once weekly using the sandwich method.
4. Will applying moisturizer before retinol make it ineffective?
Moisturizing first slows down the rate of epidermal absorption without compromising the total cellular conversion of retinol into retinoic acid.
Ditch the Flakes: Your Next Move
Skincare is an endurance race, not an overnight sprint. Peeling is never a badge of honor or proof that a product is working; it is simply your skin begging for structural support.
Give your skin cells the time they need to build retinoid tolerance. Start low, buffer with purpose, protect your barrier daily, and watch your skin transform smoothly.