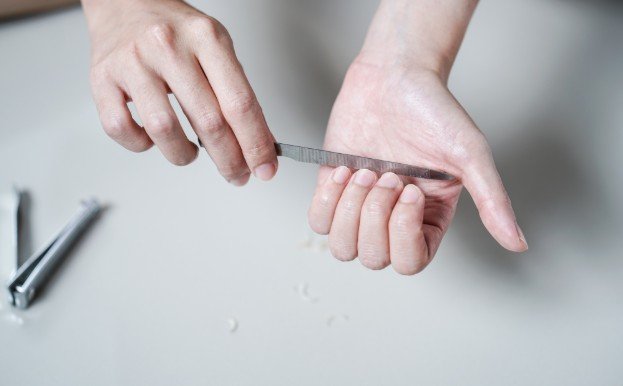
I want a home manicure to leave my nails smooth, without ragged edges that catch on clothing afterward. That is why I approach filing as gentle maintenance rather than a race to remove length. If you are wondering how to file your nails without causing splits, start with dry nails, a suitable fine file, and light strokes. The technique matters, but protecting your nails between manicures matters just as much.
Why Filing Can Leave Nails Split or Peeling
Your nail plate consists of layers of keratin. Aggressive filing can roughen the free edge—the portion extending beyond your fingertip and worsen existing peeling. Coarse tools, heavy pressure, and repeated sawing movements can turn a small snag into a larger problem.
However, filing is not always the original cause. Frequent wetting and drying, harsh chemicals, picking off polish, and everyday trauma can contribute to brittle nails. Changing your technique helps reduce additional damage, but persistent splitting deserves attention beyond your manicure routine.
Choose a File That Suits Natural Nails
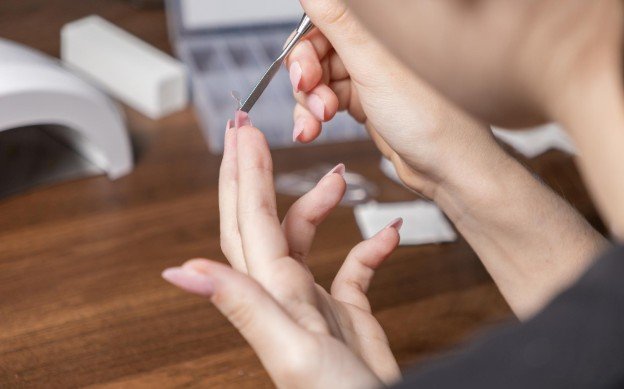
Understand the Grit Number
A higher grit number generally means a finer abrasive surface. For delicate natural nails, a fine emery board around 240 grit is a practical starting point. Stronger nails may tolerate a somewhat coarser shaping surface, but fragile tips benefit from gentler abrasion.
Avoid using coarse files intended for removing or shaping artificial enhancements on thin natural nails. If the file grabs, tears, or makes your nail flex noticeably, reduce pressure and reassess the tool.
Consider a Fine Glass File
A well-made glass file can help refine the edge and may be easier to clean than a disposable emery board, especially when your fingernails peel at the tips and need gentle smoothing. Its material alone does not guarantee damage-free filing; surface quality and technique still matter.
Follow the manufacturer’s cleaning instructions. Replace disposable files when worn or dirty, and keep personal manicure tools separate from other people’s tools.
Prepare Before You Start Shaping
Remove polish gently so you can inspect the nail edges. Look for lifting layers, cracks, and areas that already catch. Work somewhere well lit, with your hand supported.
File when your nails are dry rather than immediately after soaking. Water temporarily makes nails softer and more flexible, which can reduce precision.
Clipping is a separate step: softened nails may be easier to trim. If you shorten them after bathing, allow them to dry before filing. Skip clipping when you only need to smooth a small uneven edge.
Use Gentle Strokes Instead of Sawing
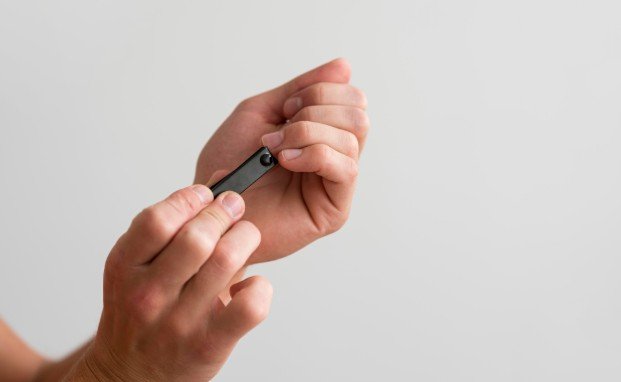
Work From Each Corner Toward the Center
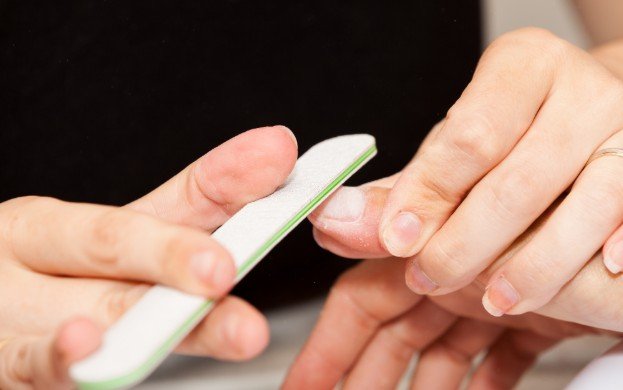
The practical answer to how to file your nails without causing splits is controlled movement. Start at one outer corner and sweep toward the center of the free edge. Lift the file, return it to your starting position, and repeat.
Then work from the opposite corner toward the center. This means each section receives consistent strokes; it does not mean dragging the file continuously backward and forward across the entire tip.
Check Your Progress Frequently
Use light pressure and pause after several strokes. Compare both sides instead of finishing one side completely before checking the other.
Keep the file against the exposed edge without digging underneath the attached nail or scraping surrounding skin. If your fingertip hurts or the nail bends repeatedly, stop. More pressure rarely produces a better finish.
Preserve Support When Choosing Your Shape
For nails that split easily, keep the length manageable and soften corners that catch on fabric. A short rounded or softly squared shape can be easier to maintain than a sharply tapered style.
Avoid aggressively narrowing the sidewalls, particularly where the nail remains attached. Shape the exposed tip gradually and preserve its natural support.
Short nails need especially careful handling. Removing a little too much can expose tender skin, so prioritize smoothing over creating a dramatic new outline.
Smooth Snags Without Thinning the Surface
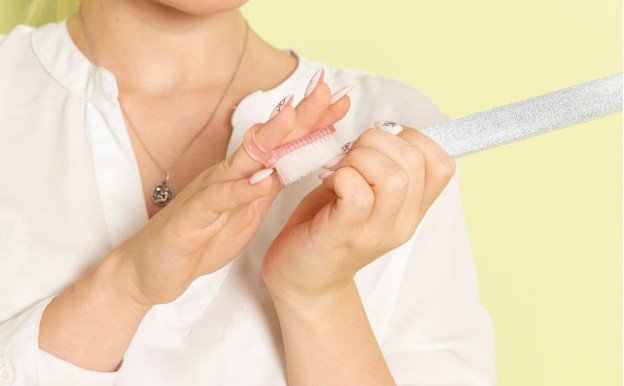
Once the shape looks even, check for roughness by gently touching the edge with your fingertip. Refine only the areas that catch, using a finer surface and minimal strokes.
Do not repeatedly buff the top of a peeling nail to make its layers look level. That removes more nail material and can leave an already fragile plate thinner.
An existing crack cannot be permanently repaired by filing. Smooth a minor tip snag cautiously, but stop if the split extends into attached tissue or causes pain, bleeding, or inflammation.
Protect Your Nails After Filing
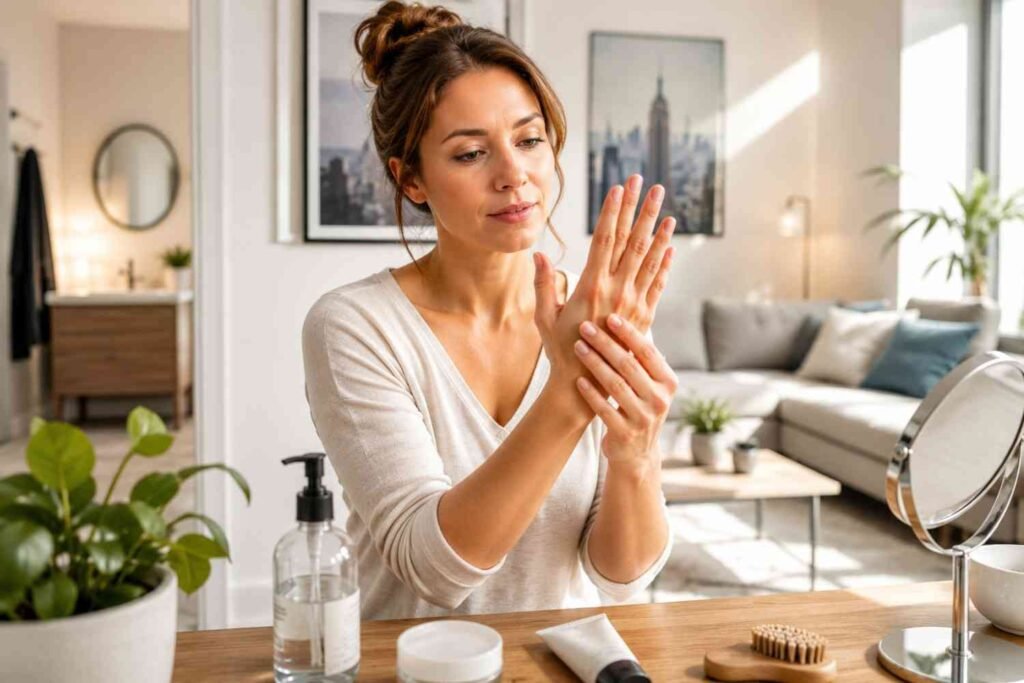
Remove filing dust and apply moisturizer to your hands, nails, and surrounding skin. Cuticle oil is optional; it does not replace careful technique or permanently fuse separated nail layers.
Wear gloves for dishwashing and cleaning, and avoid using your nails to pry open packaging. Leave cuticles intact. If splitting persists alongside changes in nail color, shape, or surrounding skin, consult a dermatologist.
Frequently Asked Questions
1. What is the easiest way to learn how to file your nails without causing splits?
Practice on dry nails with a fine file. Make light corner-to-center strokes, lifting between passes, and stop once the edge feels smooth.
2. How often should I file my nails?
File when length or a snag needs attention. Avoid repeatedly reshaping smooth nails simply to follow a fixed schedule.
3. Should I file away peeling layers?
Avoid sanding the surface. Gently address loose snags at the free edge without chasing peeling into attached nail tissue.
My Approach to Smoother, Stronger-Looking Tips
I would rather make a few careful passes with a fine file than rush through shaping and leave my nails with rough, fragile edges. My priority is a comfortable length, softly rounded corners, and a smooth finish that does not catch on clothing. Perfect symmetry matters less to me than preserving the nail and knowing when to stop.
I also see filing as one part of everyday nail care. Moisturizing after washing, wearing gloves during cleaning, and avoiding using nails to open packaging help protect the results. If an edge starts catching, I would gently smooth that spot instead of reshaping the entire nail or buffing away its surface.